Equipment Guide
Using Tech Equipment
Instructions
Holmfirth Tech makes some technical equipment available to hirers to make your visit a success.
Please be aware we do not have a technician on site to help you with technical problems so we advise arranging a short visit to the Tech prior to your event to test the equipment will be suitable for your needs. All users should be competent and have had prior experience at using this or similar equipment.
Pre requisites to connecting your laptop to Holmfirth Tech devices
- Arranging a technical test prior to your booking
- Speedy laptop with sufficient memory
- Compatible laptop with usb / usb c ports
- Updated operating system and software on your device
- Good internet speed connected to the Tech Wi-fi
- Having the time and space to be able to set up without distractions
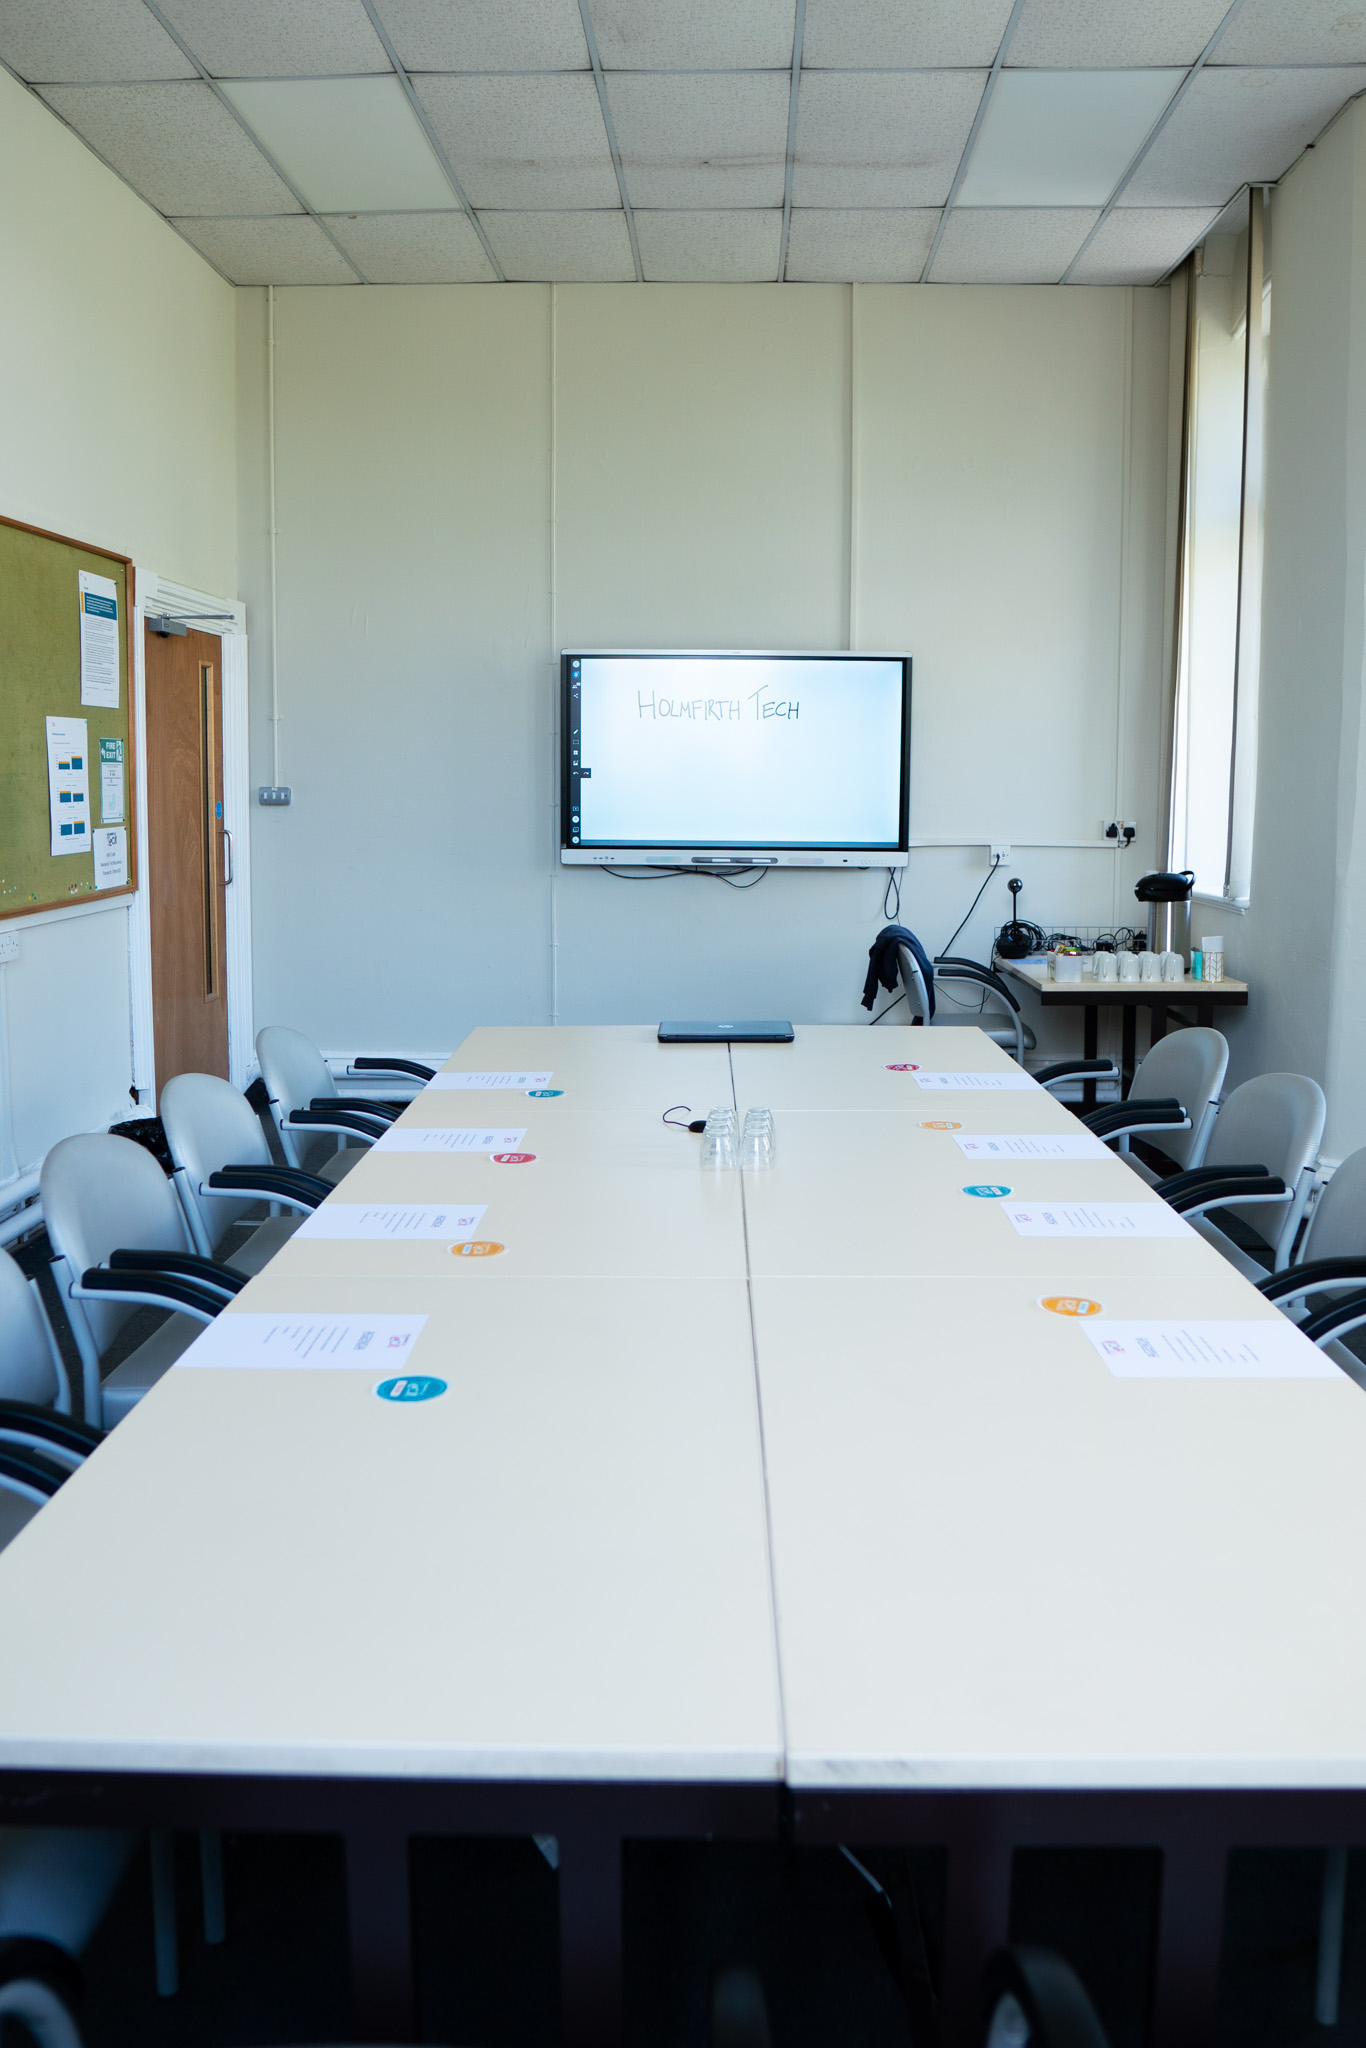
Smart Screen
Instructions
To connect to the interactive smart board situated in the Light Room:
- Connect to Holmfirth Tech’s Wi-fi
- Switch on the Interactive smart board (on/off button bottom right and switch at the wall. )
- Press ‘Screen Share.’
- If you have a windows 10 or 11+ or equivalent device go to your laptop’s display settings and connect to wireless display discoverable screens. Select ‘Holmfirth Tech Train Board’
- If you cannot find the interactive screen please download the software as below.
- Once installed open the software.
- Enter the indicated numbers when requested on your laptop (press ‘screen share’ again if you have navigated away)
- Your screen should now show on the large screen.
SmartScreen Troubleshooting
My laptop won’t connect to the Smart Screen.
If your laptop won’t connect remotely there is a HDMI lead connected to the screen. Find the lead in the white box below the screen. The Smart Screen Share app is compatible with windows 10 and 11 and macOS 10.13 to macOS 13.
Smart Screen has frozen
Switch the screen off at the wall and wait a few seconds before turning onto reconnect.
Connecting to Tech's Wi-fi
Please see signage in the Light Room for Tech Wi-fi username and password
Video Conferencing Equipment
Room Set up
Position your laptop on the main conference table to connect as shown. You will need to be close enough to connect the lead coming from the centre of the table into your laptop.
Instructions: Connecting to Video Conferencing camera and microphone kit
- First connect to the Smart Screen (as above)
- Insert the USB lead from the USB hub on the conference table marked ‘conference cam and mic’ (a USB C adaptor is available). Make sure the blue lights are showing on the hub to show it has power and the power lead is inserted correctly into the back of the hub.
- Open your video conferencing software on your device.
- In settings (Zoom / Teams / Google Meet etc) change the camera to USB conference camera and the microphone to USB conference microphone. Finally select the speakers you would like to use.
- Before your meeting try a test of the equipment.
